A meal prep fridge isn’t about being perfect—it’s about making the healthy/easy choice the default when you’re tired.
When your fridge has clear zones and containers that stack cleanly, you stop “losing” food in the back and start actually eating what you prepped.
The Goal (Realistic + Repeatable)
A well-organized meal prep fridge should help you:
- See meals fast (no digging)
- Grab-and-go without thinking
- Keep raw foods separate from ready-to-eat foods
- Reduce waste (nothing gets forgotten)
Think systems, not “Instagram fridge.”
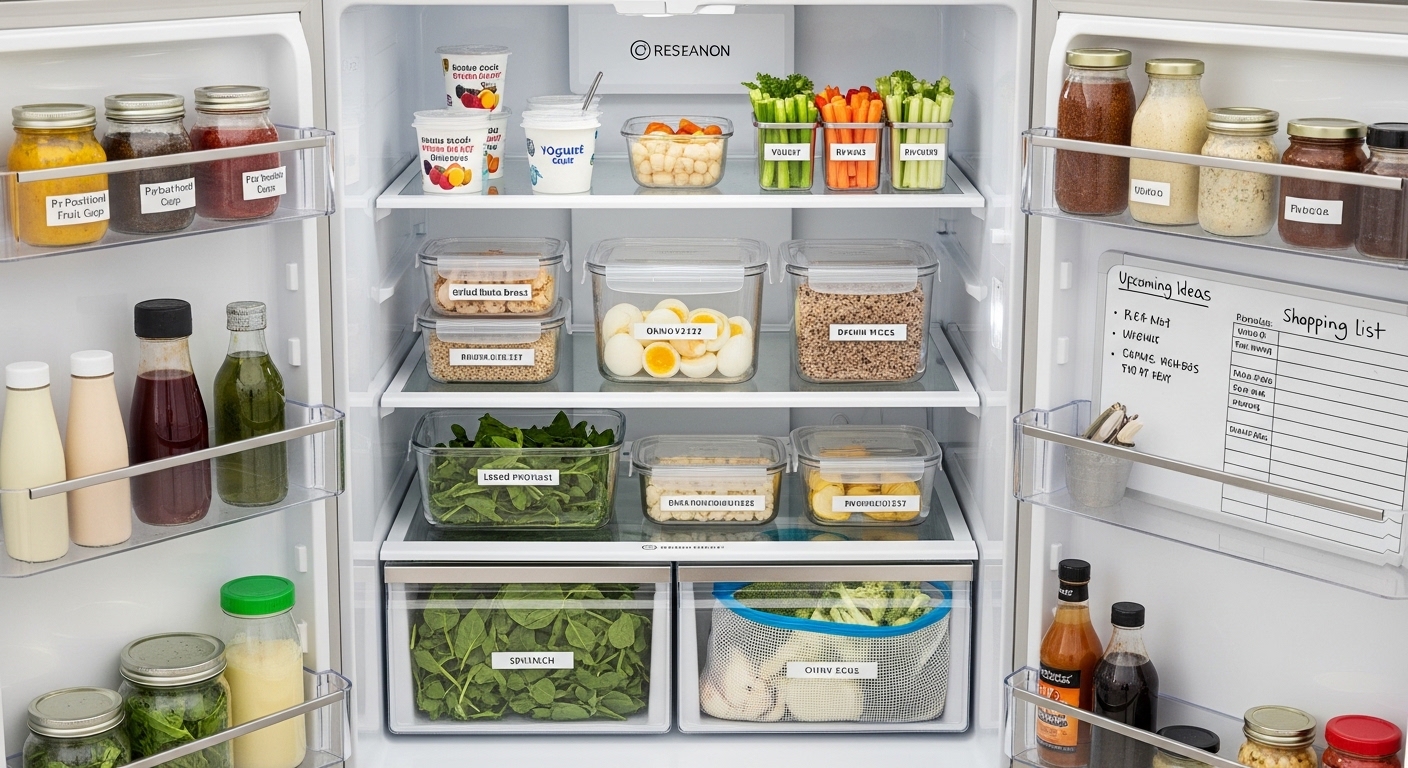
Step 1: Pick 5 Fridge Zones That Actually Work
You don’t need 12 categories. Five zones is enough for most people.
Zone A — Ready-to-Eat Meals (Front + eye level)
This is the VIP shelf. Put the meals you want to eat first where your eyes land naturally.
What goes here:
- full meal containers
- pre-portioned bowls
- leftovers you plan to finish
Rule: If it’s meant to be eaten this week, it lives here.
Zone B — Prep Components (One shelf or one bin)
This is your “build-a-meal” zone: proteins, grains, cooked veggies, sauces.
What goes here:
- cooked chicken/tofu/ground meat
- rice/quinoa/pasta
- roasted veggies
- chopped onions/peppers
- dressings, sauces
Why it works: You can assemble a meal in 2 minutes without cooking again.
Zone C — Snacks & Breakfast (Top shelf or a bin)
Make good snacking effortless.
What goes here:
- yogurt cups
- cut fruit
- snack boxes
- boiled eggs
- overnight oats
Tip: A single bin for snacks prevents “random snack sprawl.”
Zone D — Produce “Use First” (Front of crisper)
Produce dies in the back of the drawer. Put the fragile stuff where you’ll see it.
What goes here:
- greens, herbs
- berries
- mushrooms
- ripe avocados
Tip: Keep a small “use first” basket for anything that’s about to turn.
Zone E — Raw & Risky (Bottom shelf, back)
Raw meat should be isolated and low to prevent drips.
What goes here:
- raw meat/fish
- marinade bags
- anything that could leak
Rule: Raw stays low and contained. Ready-to-eat stays up and front.
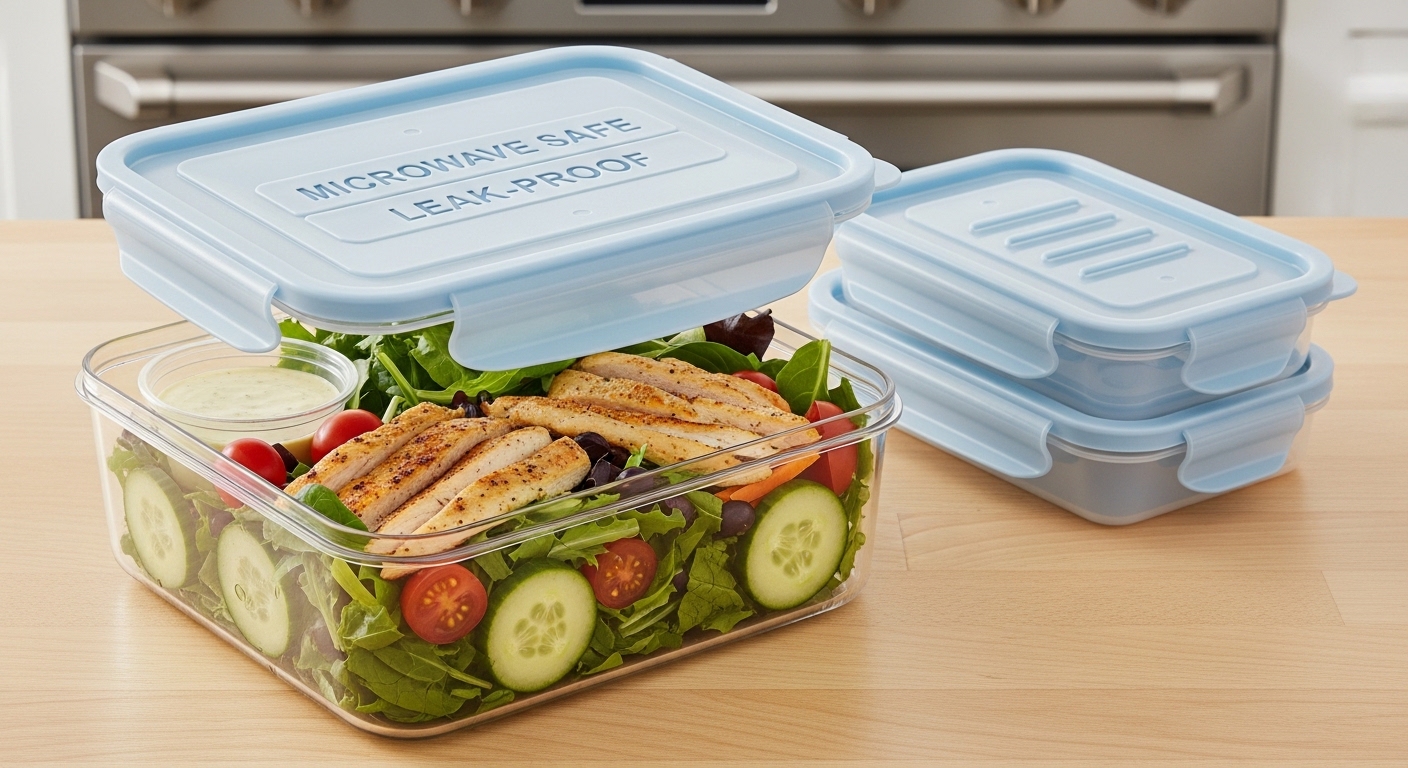
Step 2: Standardize Container Sizes (The Secret to Stackability)
Most fridge chaos is container chaos. Standardizing sizes makes stacking automatic.
Use 3 “core” sizes (simple and enough)
- Small (snack/sauce): dressings, dips, fruit, nuts, chopped herbs
- Medium (components): cooked grains, roasted veggies, chopped produce
- Large (full meals): meal portions, big salads, leftovers
Why this works:
Your fridge becomes Tetris-friendly. Lids match. Stacks stay stable. You stop rearranging everything.
Pick 1–2 shapes and stick to them
Rectangles stack best on shelves. Rounds waste space faster.
Step 3: Set Up a “Front Row Rule” (Prevents Forgotten Food)
Every shelf should have a front row that acts like a menu.
Front row = this week’s priority.
Anything behind it is backup.
Practical habit:
- When you add new meals, don’t shove them to the back.
- Move older meals to the front so they get eaten first.
Step 4: Use Labels Without Overthinking It
You don’t need fancy labels—just enough to prevent mystery containers.
Minimum effective labeling:
- Name + date (e.g., “Turkey chili — Mon”)
- If you meal prep for multiple people, add initials
Quick tip: masking tape + marker is plenty.
Step 5: The 15-Minute Weekly Reset (Do This Once a Week)
This is the routine that keeps everything from collapsing.
Minute 0–3: Clear + Toss
- Throw out anything expired or questionable
- Consolidate leftovers (combine small portions if it makes sense)
Minute 3–6: Wipe the “problem areas”
- Quick wipe of sticky spots and the produce drawer edge
- Don’t deep-clean. Just reset.
Minute 6–10: Rebuild the zones
- Ready-to-eat meals to Zone A
- Components together in Zone B
- Snacks grouped in Zone C
- Produce “use first” moved to the front
Minute 10–15: Plan the next 3 grab-and-go items
Pick 3 things that should be easiest to access this week:
- 2 lunches + 1 snack set, or
- 3 ready-to-eat dinners
Put those in the front row at eye level.
This step is key: it turns your fridge into a plan, not storage.
“What Do I Prep?” A Simple Meal Prep Layout That Fits the Zones
If you’re not sure what to store where, this is a solid template:
- 1–2 proteins (chicken, tofu, ground turkey)
- 1 grain or base (rice, quinoa, pasta)
- 1–2 cooked veggies (roasted mixed veg)
- 1 fresh veg (washed greens, chopped cucumbers)
- 1 sauce (dressing, salsa, stir-fry sauce)
That combination gives you mix-and-match meals without boredom.
Common Mistakes (And Fixes)
Mistake: everything goes wherever it fits
Fix: zones first, then fill.
Mistake: too many container shapes
Fix: standardize 3 sizes + 1–2 shapes.
Mistake: meal prep gets buried behind condiments
Fix: move sauces/condiments to the side or door, keep meals eye level.
Mistake: produce rots in the drawer
Fix: create a “use first” front section.
Quick FAQ (SEO-Friendly)
How long should meal prep food stay in the fridge?
Plan to eat the most perishable items first (greens, seafood, cut fruit). If something looks or smells off, don’t risk it.
Do I need bins?
Not required, but one snack bin and one component bin make a huge difference.
What if I have a small fridge?
Zones still work—just shrink them. One shelf can hold two zones using bins or left/right separation.