A mandoline can turn 20 minutes of slicing into 2 minutes of perfect, even cuts—but it’s also the fastest way to nick a fingertip if you rush.
The good news: with the right setup and a few habits, you can use a mandoline confidently with zero “finger panic.”
Why People Get Cut (And How to Avoid It)
Most cuts happen because of one of these:
- You start slicing without a glove or guard
- The mandoline slides on the counter
- You keep going when the ingredient is too small to safely hold
- You use the wrong technique (pressing hard, moving too fast, or slicing at a weird angle)
Safety rule that fixes 90% of problems:
✅ Glove + stable base + slow first passes. Speed comes after control.
What You Need Before You Start (Safety Setup)
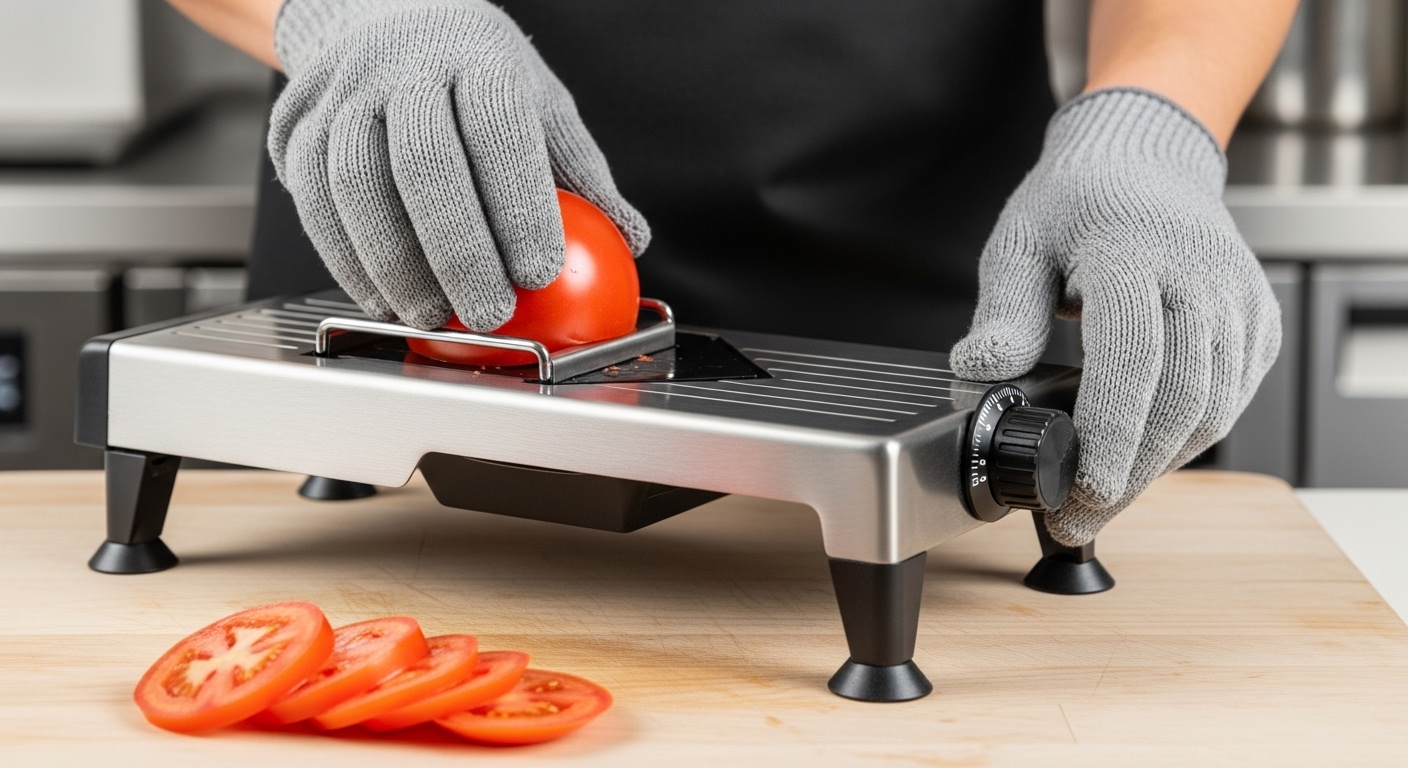
1) Cut-resistant glove (your best friend)
A cut-resistant glove isn’t “extra.” It’s the difference between feeling calm and feeling stressed.
My experience: the first time you wear one, you instantly relax—and your slicing becomes more controlled, not less.
Glove tips:
- Wear it on the hand that holds the food.
- Keep it dry (wet gloves can get slippery).
- Wash and fully dry after use.
2) Food holder/guard (still useful even with a glove)
Use the guard when you can. It’s especially helpful for:
- slippery foods (cucumber, zucchini)
- awkward shapes (onions, potatoes)
- when you want to keep hands farther from the blade
3) Non-slip base (mandatory)
A mandoline that moves is the real danger.
- Use the built-in rubber feet if it has them
- Place a damp towel under it if you need more grip
- Better: set it on a cutting board or inside a large bowl so it stays stable and catches slices
Choose the Right Slice Setting (Beginner-Friendly Guide)
Mandolines can slice paper-thin or thick enough for roasting. Start thicker than you think.
Common thickness ranges (practical, not technical)
- Very thin: chips, quick pickles, shaved onions
- Medium: sautéing, stir-fries, sandwiches
- Thick: gratins, roasting, hearty salads
Beginner tip:
Start at medium, do 2–3 test slices, then adjust.
Thin slices look fancy but require more control and can tear soft foods.
The “Zero Finger Panic” Technique (Step-by-Step)
Step 1: Prep the food for stability
Cut a flat side so it doesn’t wobble.
- Round foods (potato, cucumber): trim a small flat base first
- Onion: cut in half, slice from the flat side
Step 2: Set the mandoline at a comfortable angle
Don’t hunch over it. Keep your shoulders relaxed.
- If you’re tense, you’ll rush and press harder
- Comfortable posture = smoother motion = safer slicing
Step 3: Use light pressure and short strokes
Most beginners push too hard.
- Let the blade do the work
- Short, controlled strokes beat long, fast swipes
Step 4: Stop early (this is the pro move)
When the piece becomes small enough that your grip feels “iffy,” stop.
- Finish the last bit with a knife
- Or save the end piece for stock/stir-fry
My rule: if I have to “pinch” the last piece tightly, I’m done. That’s the danger moment.
Ingredient-Specific Tips (Real Kitchen Scenarios)
Potatoes (chips, gratin)
- Use medium-to-thick settings for gratin
- For chips: go thinner, but keep the potato stable
- If the potato is wet, pat it dry so it doesn’t slip
Cucumbers & zucchini
- Slippery → glove + guard helps a lot
- If you want perfect rounds, keep the ingredient straight—don’t twist
Onions
- Great for thin slices, but they get small fast
- Use the guard early, and finish the last chunk with a knife
Cabbage
- Mandoline is amazing for slaws
- Cut into a wedge so it has a flat face, and slice slowly (cabbage is dense)
Cheese (if your mandoline allows it)
- Chill the cheese first for cleaner slicing
- If it crumbles, your setting is too thin or cheese is too warm
“Why Are My Slices Tearing?” (Quick Fixes)
Problem: soft foods tear (tomatoes, ripe fruit)
- Mandolines aren’t great for very soft items
- Use a knife or chill the food slightly first
Problem: uneven slices
- Your pressure is inconsistent
- Make shorter strokes and keep the ingredient flat
Problem: slices stick to the blade
- Food is wet or starchy
- Quick rinse and wipe, or pat ingredients dry
Cleaning Safely (The Part People Forget)
Most mandoline accidents happen during cleanup, not slicing.
Safe cleaning routine:
- Put the blade setting back to “closed” (if possible)
- Rinse immediately so food doesn’t glue on
- Use a brush or sponge—never your fingers directly on the blade
- Dry carefully, store with blade protected
Pro habit: I clean it right after slicing—waiting makes it harder and more tempting to scrub dangerously.
Common Mistakes to Avoid
- Slicing fast because “it’s working”
- Using no glove because “it’s just a few slices”
- Holding food with fingertips when it gets small
- Letting the mandoline slide
- Cleaning it like a normal grater (fingers near blade = nope)
Best Uses for a Mandoline (Where It’s Actually Worth It)
A mandoline shines when you need:
- consistent slices for even cooking
- quick prep for salads and slaws
- big batches (meal prep) without hand fatigue
If you’re only slicing one tomato, it’s not worth pulling out.
If you’re making slaw for the week, it’s a game-changer.
Quick FAQ (SEO-Friendly)
Do I really need a cut-resistant glove?
If you want “zero finger panic,” yes. It turns mandoline use from stressful to routine.
What thickness should I start with?
Medium. Test-slice, then adjust. Thin slices are harder to control.
Can I use it for everything?
Not ideal for very soft foods. It’s best for firm vegetables and consistent slicing jobs.