A sharp knife makes cooking faster, cleaner, and safer—because you’re not forcing the blade through food. The key is keeping the process simple: pick one method, stay consistent, and stop once it’s sharp enough.
First: Honing vs Sharpening (Most People Mix This Up)
- Honing (with a honing rod) = straightens the edge that’s bent over from use.
Feels like “bringing the sharpness back.” It doesn’t remove much metal. - Sharpening (stone / sharpener) = removes a tiny amount of metal to create a new edge.
Fixes real dullness.
Quick rule:
If your knife feels dull after honing, it’s time to sharpen.
What You Need (Simple Home Setup)
Pick one sharpening method:
- Whetstone (recommended for best results): a medium stone (around 1000 grit) is enough for most home knives.
- Guided/manual sharpener: easier learning curve, slightly less control.
- Electric sharpener: fastest, least technique (good for beginners), but avoid overusing the coarse stage.
Also helpful:
- A damp towel or non-slip mat (to keep things stable)
- A clean cloth/paper towel (to wipe the blade)
- Optional: a marker (for an easy “am I hitting the right angle?” trick)
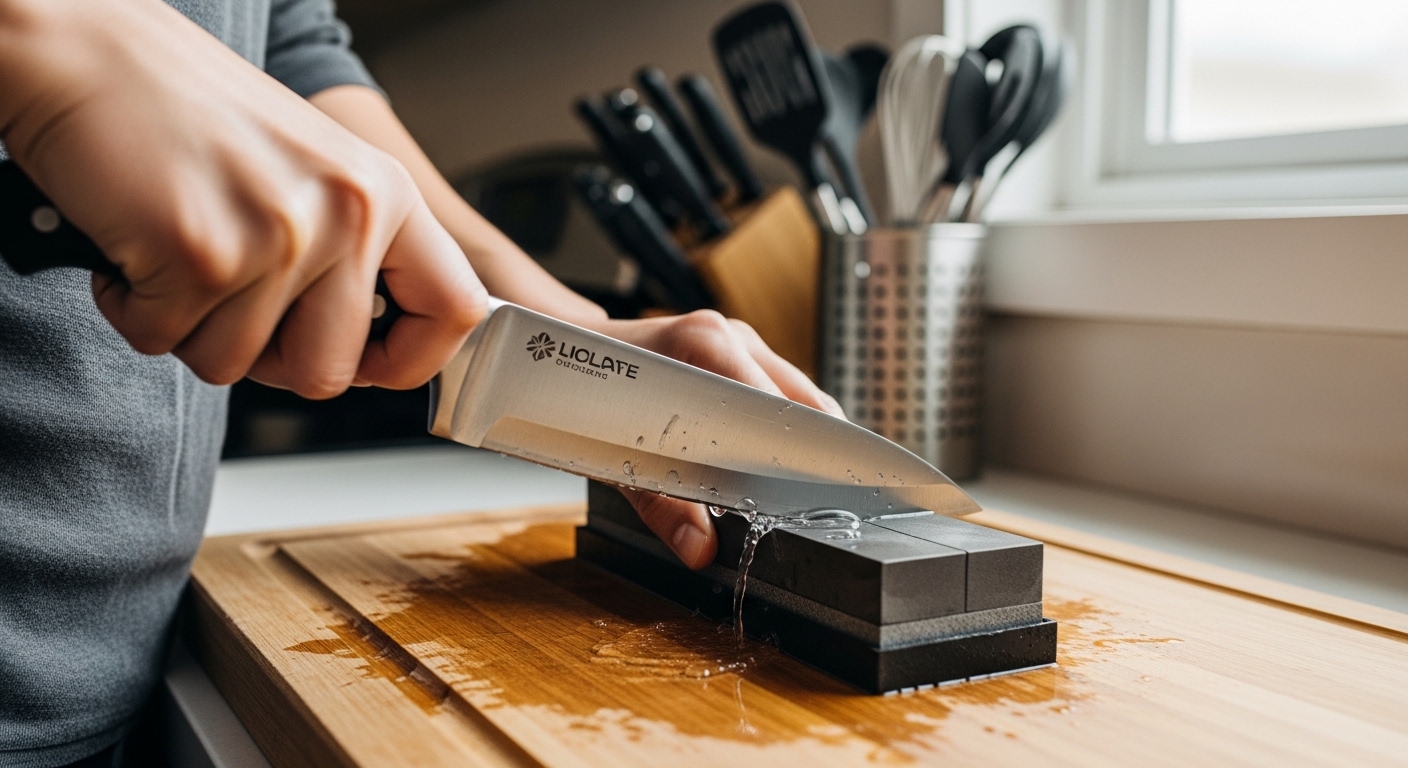
Method A: Sharpening with a Whetstone (Best all-around)
This is the most “universal” method and works on most straight-edge kitchen knives.
Step 1: Set up safely
- Put the stone on a damp towel so it doesn’t slide.
- If your stone needs soaking, do that first. If it’s “splash-and-go,” just wet the surface.
Step 2: Choose an angle you can repeat
- Aim for 15–20° per side (don’t obsess over the exact number).
- Consistency matters more than perfection.
Easy angle check (marker trick):
- Color the knife edge bevel with a marker.
- Do a few light strokes.
- If the marker is removed evenly, your angle is good.
Step 3: Start with the medium grit (around 1000)
- Use light-to-medium pressure.
- Move the blade so the edge travels across the stone (like you’re trying to slice a thin layer off the top).
- Work in sections: heel → middle → tip.
Do ~10–20 strokes, then switch sides. Repeat.
Step 4: Find the burr (your progress signal)
A burr is a tiny wire edge that forms on the opposite side when you’ve sharpened enough.
How to check safely:
- Wipe the blade.
- Feel for it by gently brushing your fingertip across the edge, not along it (or use a fingernail very lightly).
No burr after many strokes usually means:
- your angle is too high/low, or
- you’re not spending enough time on the dull section.
Step 5: Deburr (this is what makes it feel truly sharp)
Many “it’s still not sharp” problems are just leftover burr.
To deburr:
- Use very light strokes, alternating sides every stroke.
- Do 5–10 gentle passes per side.
- Optional: make a few light passes on a piece of cardboard or a paper bag to remove micro-burr.
Step 6 (optional): Refine on a finer grit
If you have a finer stone, do a few light passes to smooth the edge. This helps with clean slicing.
Method B: Using a Manual Pull-Through Sharpener (Fast + beginner-friendly)
If you’re new and want something simple:
- Put it on a stable surface (hold it down firmly).
- Start in the fine slot if the knife is only slightly dull.
- Use the coarse slot only if it’s truly dull (sliding off tomato skin, crushing herbs).
- Pull the knife through with light pressure, consistent speed.
- Finish with the fine slot.
Beginner tip: fewer passes than you think. Test, then stop.
Method C: Using an Electric Sharpener (Easiest, but don’t overdo it)
- Use the coarse stage only when needed.
- Light pressure. Let the machine do the work.
- Finish with the finer stages to smooth the edge.
The #1 electric sharpener mistake is living in the coarse stage and removing too much metal.
Common Mistakes (And How to Fix Them)
1) Pressing too hard
Hard pressure = uneven edge + more burr problems.
✅ Fix: lighten up. Sharpness comes from consistency, not force.
2) Changing the angle constantly
This makes the edge rounded and dull.
✅ Fix: slow down, lock your wrist, use the marker trick.
3) Skipping deburring
Your knife can feel sharp for 2 minutes, then “mysteriously dull.”
✅ Fix: finish with very light alternating strokes.
4) Over-sharpening “just because”
More passes can make the edge worse (and removes extra metal).
✅ Fix: test early, stop when it’s good.
5) Sharpening a dirty or greasy blade
Gunk ruins feedback and can clog stones/slots.
✅ Fix: wash and dry first.
6) Using the wrong cutting surface
Glass/stone boards kill sharpness fast.
✅ Fix: use wood or quality plastic.
How to Test Sharpness Safely (No Finger Tricks)
Avoid running your finger along the edge. Use these instead:
Test 1: Paper slice (simple + safe)
Hold a sheet of paper and try slicing from the edge.
- Sharp: cuts cleanly with little snagging
- Dull: tears or gets stuck
Test 2: Tomato skin test (real kitchen proof)
Try slicing a tomato without crushing it.
- Sharp: bites the skin immediately
- Dull: slides before cutting
Test 3: Light reflection check
Hold the edge under a light.
- Sharp: edge looks almost invisible
- Dull/rolled: you’ll see shiny spots reflecting light
A Simple Maintenance Routine That Works
- Hone: every few cooking sessions (or whenever it starts feeling “off”).
- Sharpen: when honing doesn’t help (often every 1–3 months for typical home use, depending on how much you cook).
Quick FAQ (SEO-friendly)
Can I sharpen any knife this way?
Most straight-edge kitchen knives, yes. Serrated knives are different and usually need special tools or professional service.
Should I use 15° or 20°?
If you’re unsure, aim for the angle the knife already has and stay consistent. Consistency beats chasing the “perfect number.”
Why is my knife still not sharp after sharpening?
Most often: inconsistent angle, not forming a burr, or not deburring properly.